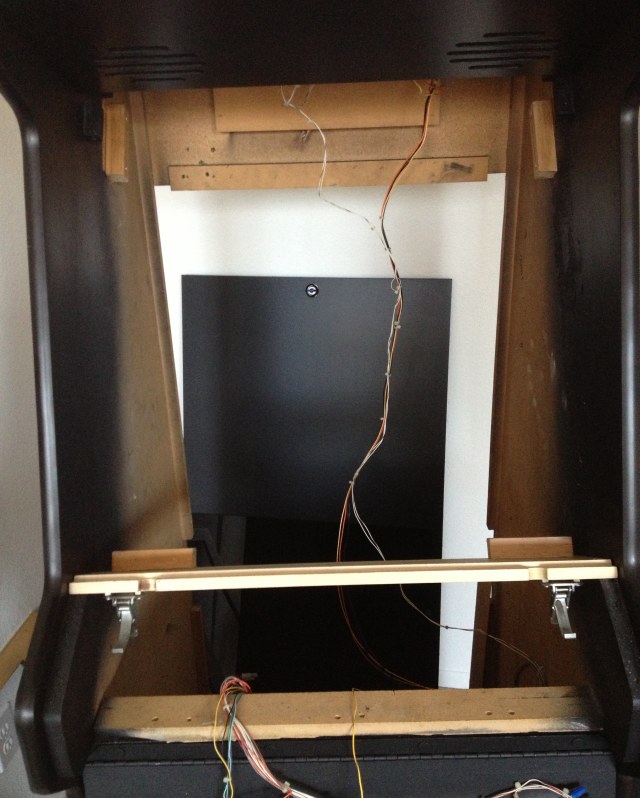
A lot of dynamo cabs come with a 19"
monitor in a square wooden frame which allows the monitor to be 'easily' rotated
by pulling out the frame and rotating it 90`.
Well, what if we removed the frame and added a bearing mounted so the monitor could be
rotated in-cabinet with no fuss ??
After measuring the outer width of a tube, including the mounting tabs, it
seemed possible that given the right bearing a 19" monitor could be rotated
while mounted in the Dynamo cab. Searching for a
bearing I found one where the numbers
matched...
So now I present a pictorial history of
getting this to work.
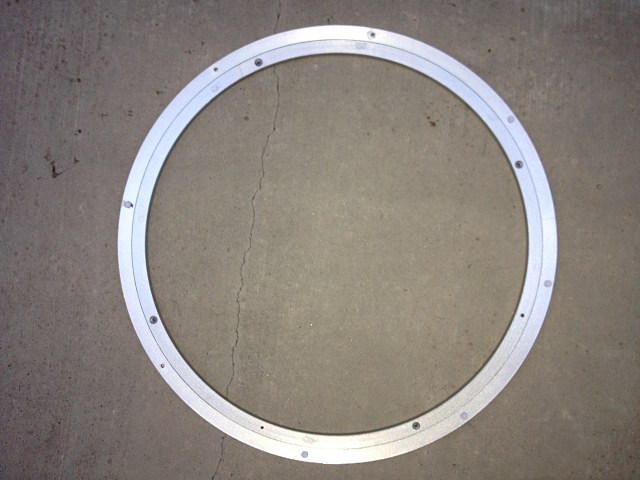
600mm bearing arrives - inner diameter is 20.812" or 528.6mm
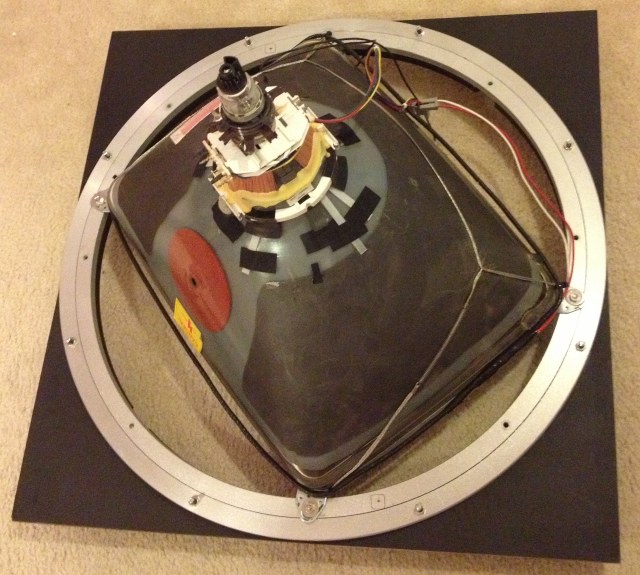
Testing the tube fitment - it does fit as predicted
There were even two pre-drilled mounting hole that aligned with the tabs perfectly
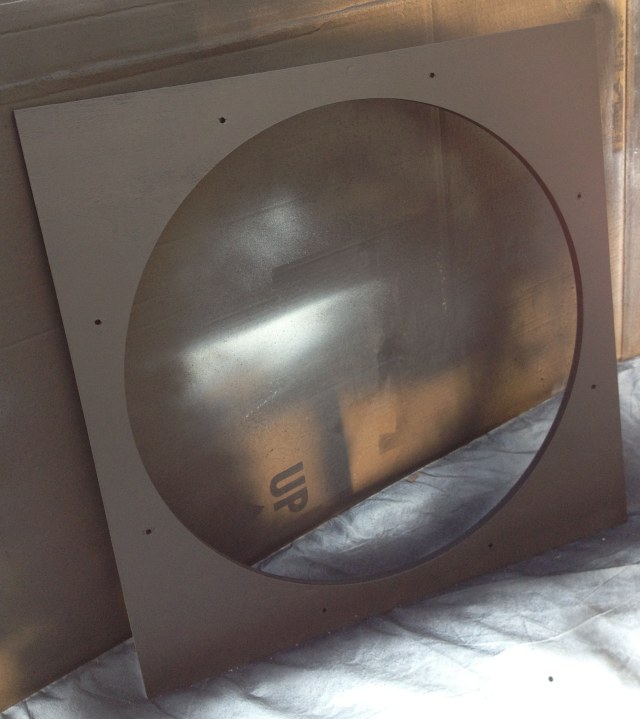
Making out inner cut out on 1/2" oak plywood.
Plywood was already timmed to
inner dimension of dynamo cab.
Approx 23.75" square
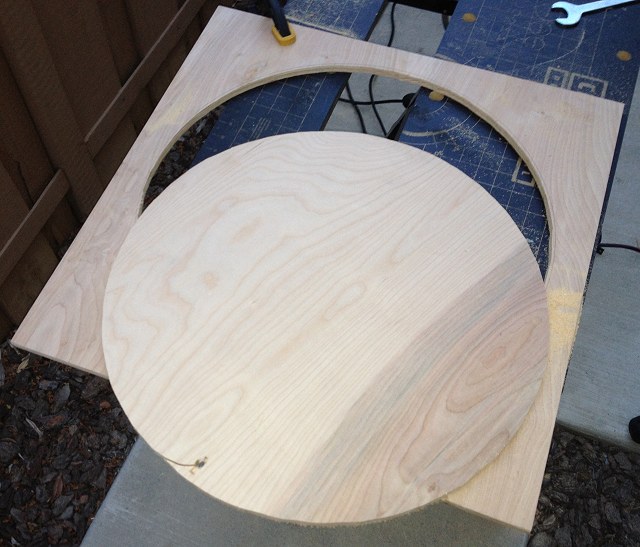
Rough jigsaw cutout of the template
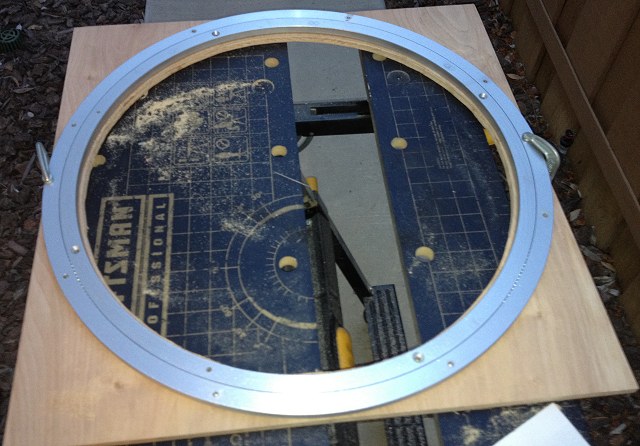
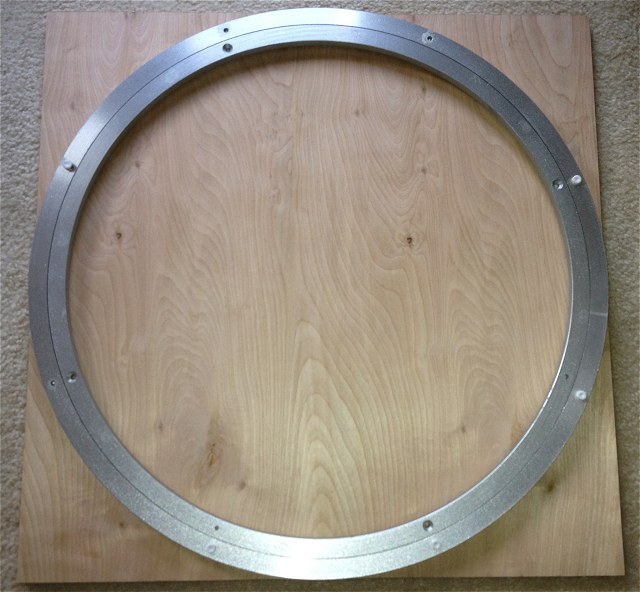
Attach the bearing, line up and clamp down


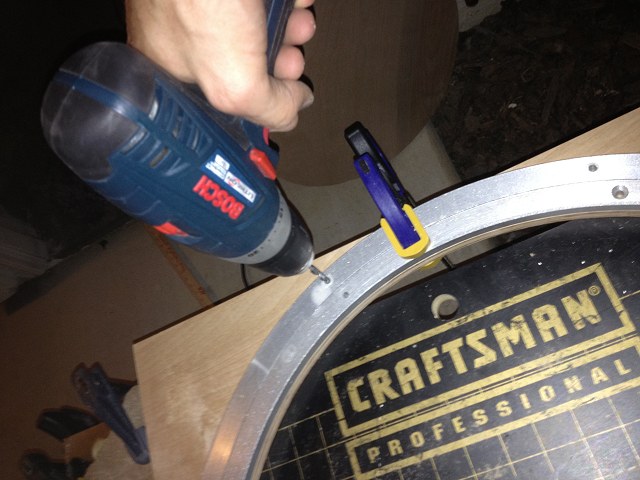
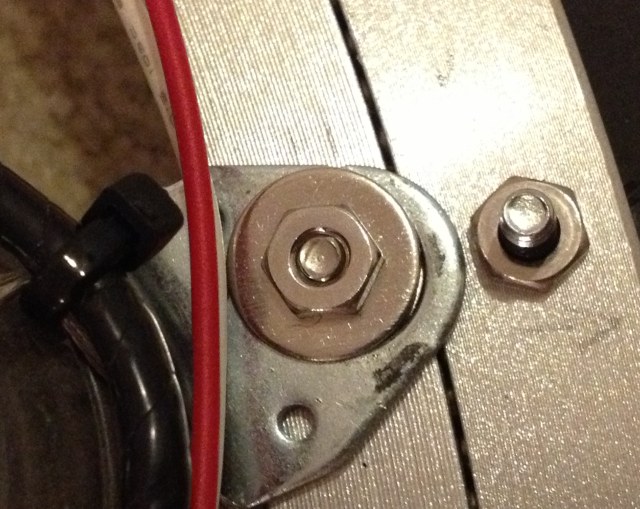
Drilling the bolt holes in the backing mount.
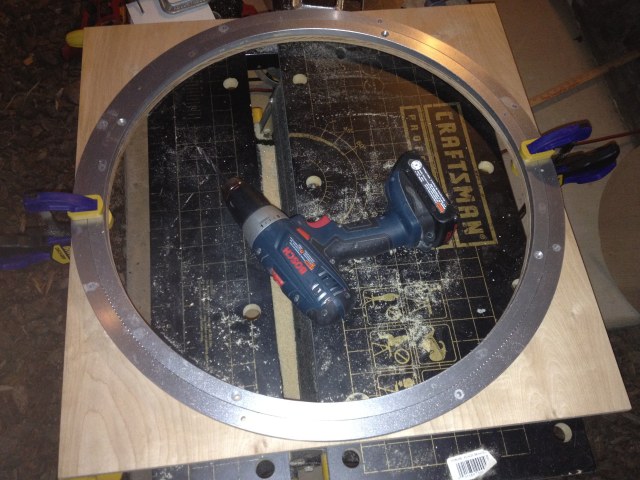
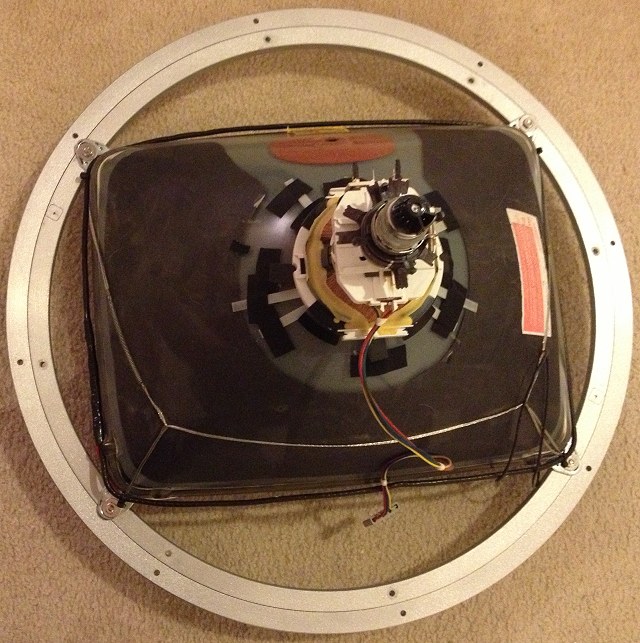
Bearing in place on the backing mount
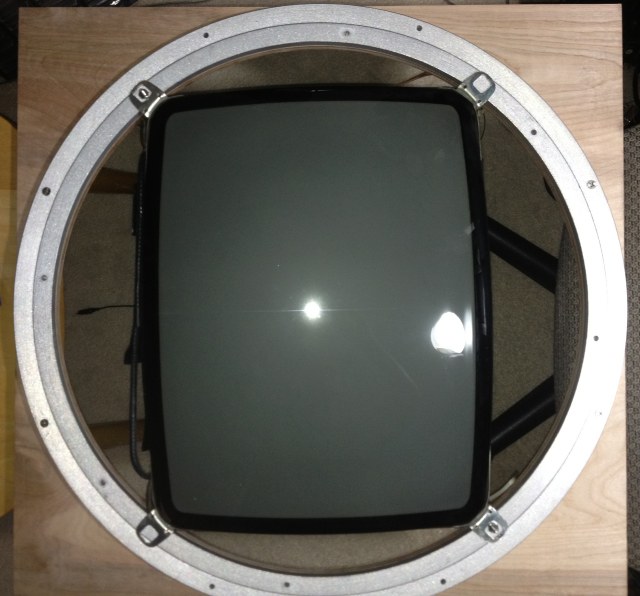
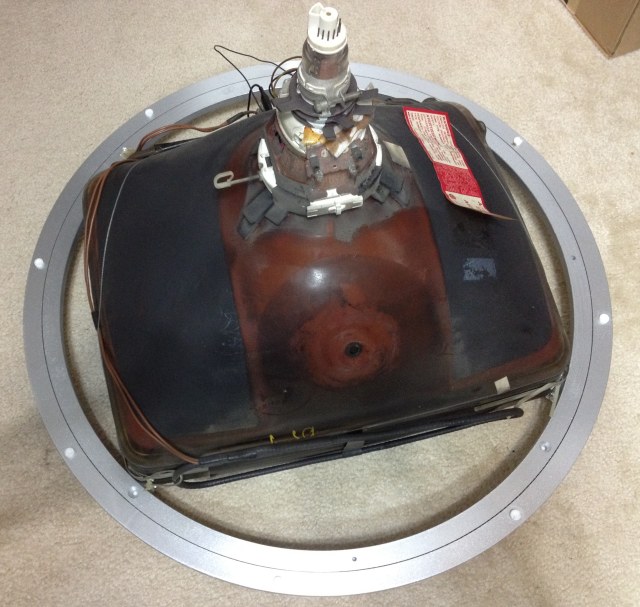
Tube and bearing mounting test
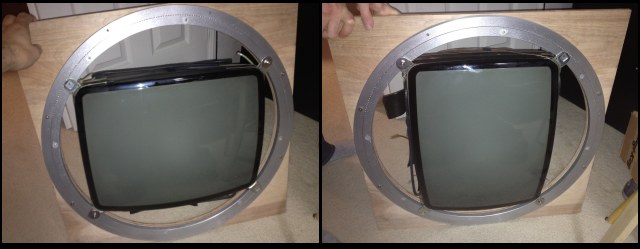
Mounting test with rotation
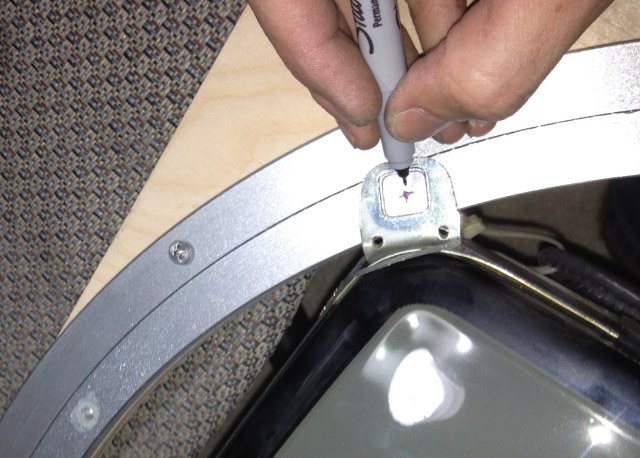
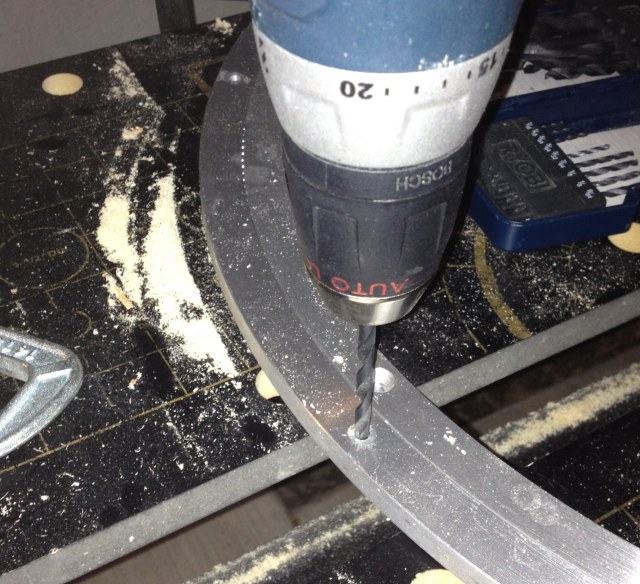
Marking drill points for the opposite side tabs
Spray it black !

Drill and countersink the other monitor tab hole
Modified mounts for the dynamo cab, 1" blocks the frame will be screwed onto.
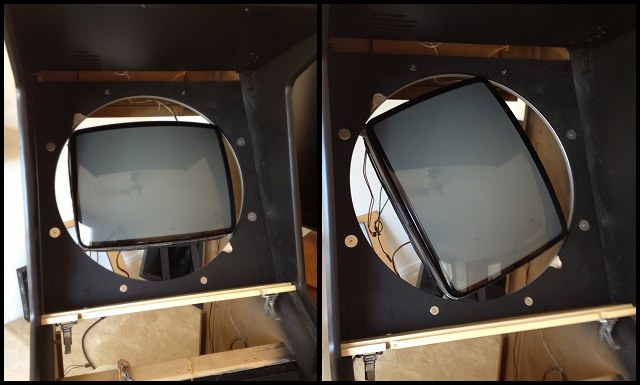
Mounting & rotate test in the cabinet
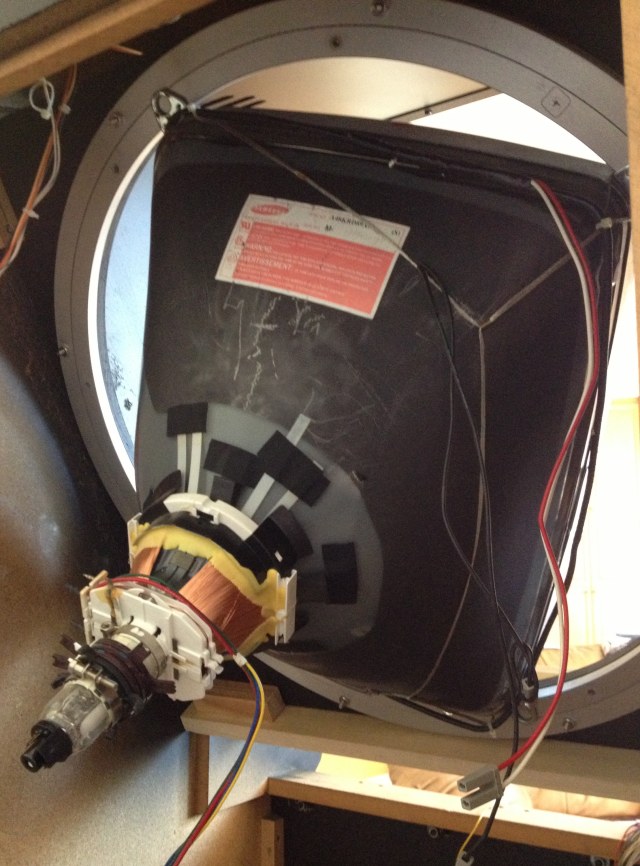
Tube mounting - rear view
All looks good, time to start final assembly
Start of final assembly - tube mounting in bearing
Change of plan too, the bearing will be attached to the rear of the
mounting panel
Degauss coil flipped to the opposite side of the tube.
Bearing, tube and frame mounted - #10/24 bolts used throughout
Clearances are close !
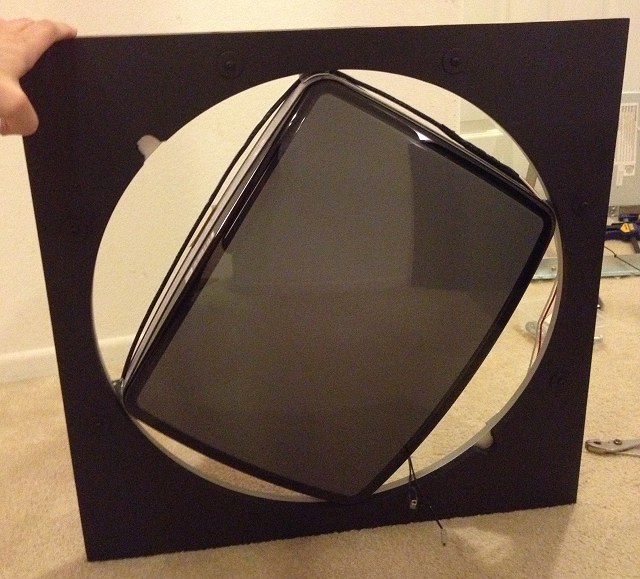
Testing Rotation
Two notches were added to allow acces to the bolts holding the monitor in
the bearing.
They weren't actually needed in the end.
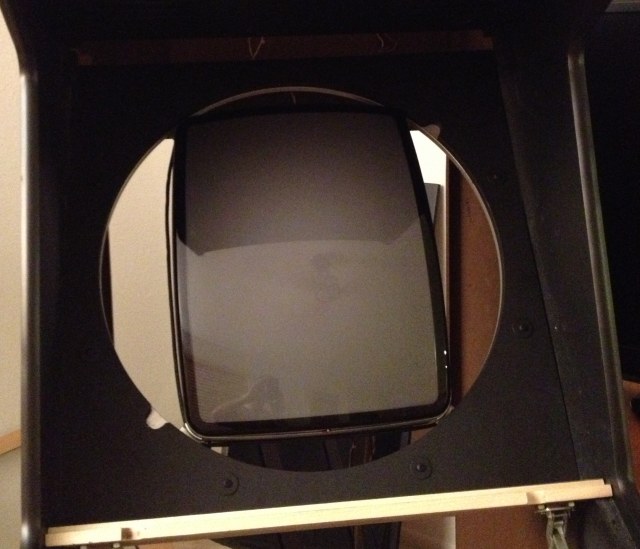
Final mounting in the cabinet
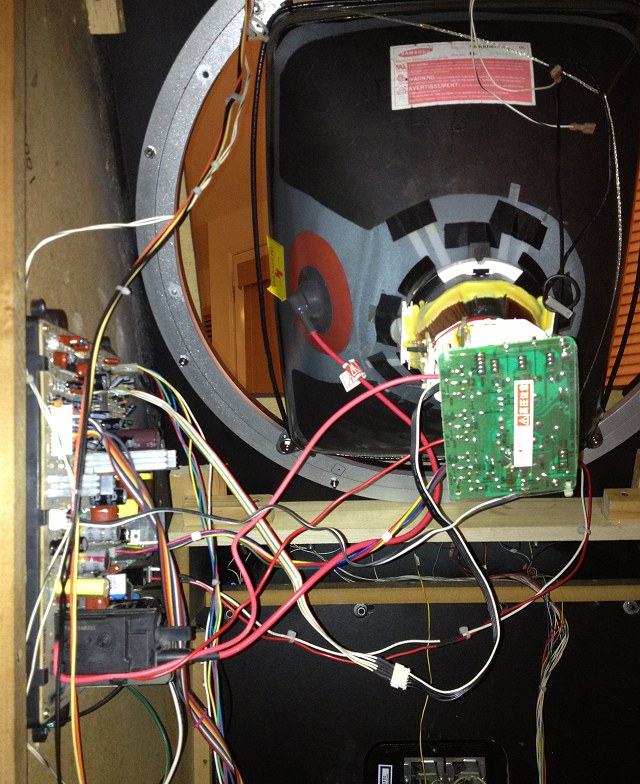
Chassis in place
R/G/B/B+ cable and degauss cables had to be extended - everything else
fitted
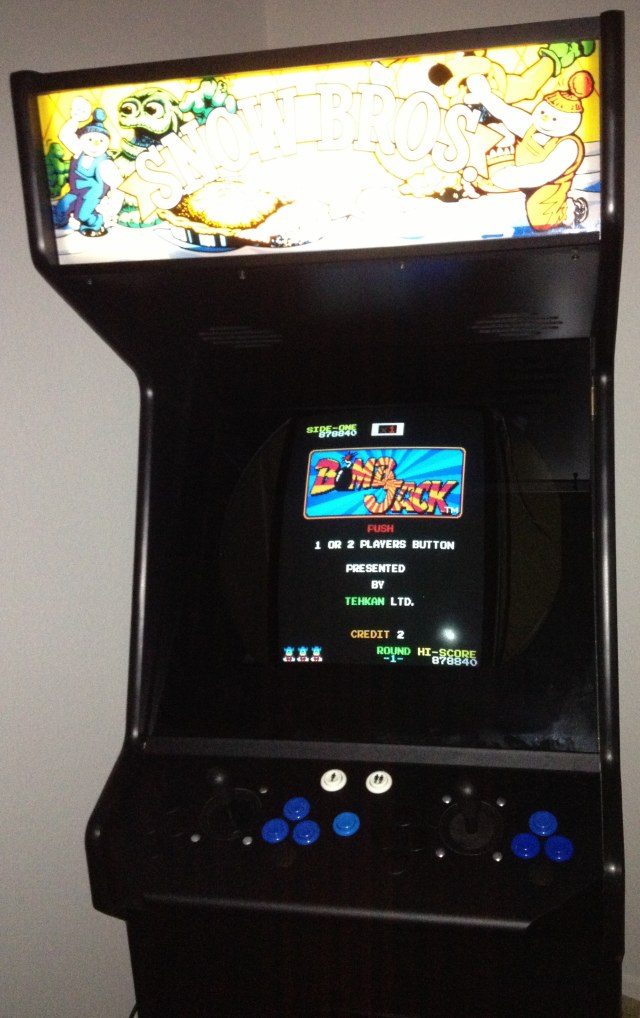
In place and working !
- Circular monitor bezel
- Motor drive for the rotate
- Mount chassis to the frame for full 360' rotation